
Winter birthdays possess a unique magic, blending the cozy warmth of seasonal celebrations with crisp, enchanting aesthetic themes. When planning a winter wonderland birthday dessert table, few treats command attention quite like custom royal icing sugar cookies. Snowflake-themed cookies, with their intricate symmetry and icy color palettes, serve as both delicious favors and stunning edible art.
Royal icing is the ideal medium for capturing the delicate, crystalline structures of real snowflakes. By mastering a few basic techniques—such as flood consistency, wet-on-wet piping, dimensional piping, and luster dusting—you can elevate simple sugar cookies into showstopping party treats. Here are 10 creative winter wonderland snowflake royal icing ideas to make any winter birthday celebration unforgettable.
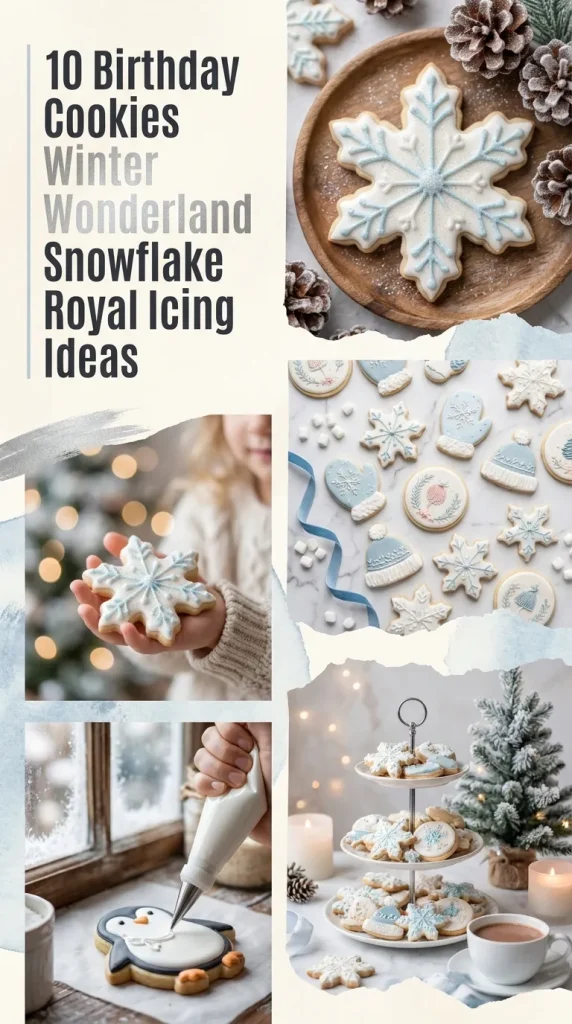
1. Classic Monochromatic White-on-White Elegance
There is timeless sophistication in simplicity. Start with a solid white royal icing flood base that has dried completely to a high-gloss, smooth finish. Using a stiff-consistency white royal icing and a fine piping tip (such as a #1 or #1.5), pipe intricate snowflake arms, delicate lattice dots, and tiny starburst details over the base. The raised, textured piping against the smooth flooded surface creates a subtle, light-reflecting relief effect that feels pristine and luxurious.

2. Pastel Winter Ombré Wet-on-Wet Snowflakes
Combine a soft birthday color story with fluid decorating techniques. Flood the cookie surface with a gradient blend of icy blue, soft lilac, and pastel pink royal icing. While the flooded base is still wet, pipe tiny white dots or lines directly into the background using flood-consistency white icing. Use a scribe tool or needle tool to gently drag through the white icing, forming smooth, seamless snowflake stars embedded directly into the ombré base.

3. Silver Leaf and Metallic Luster Dust Accents
Add a touch of birthday sparkle by introducing metallic finishes. Once a icy blue or crisp white snowflake cookie has fully cured, use a fine artist brush dipped in silver edible luster dust mixed with high-proof grain alcohol or lemon extract. Highlight the tips, center nodes, or outer ridges of the snowflake. For an even more luxurious finish, apply small fragments of edible silver leaf to the center of the snowflake using clean tweezers before the icing fully sets.
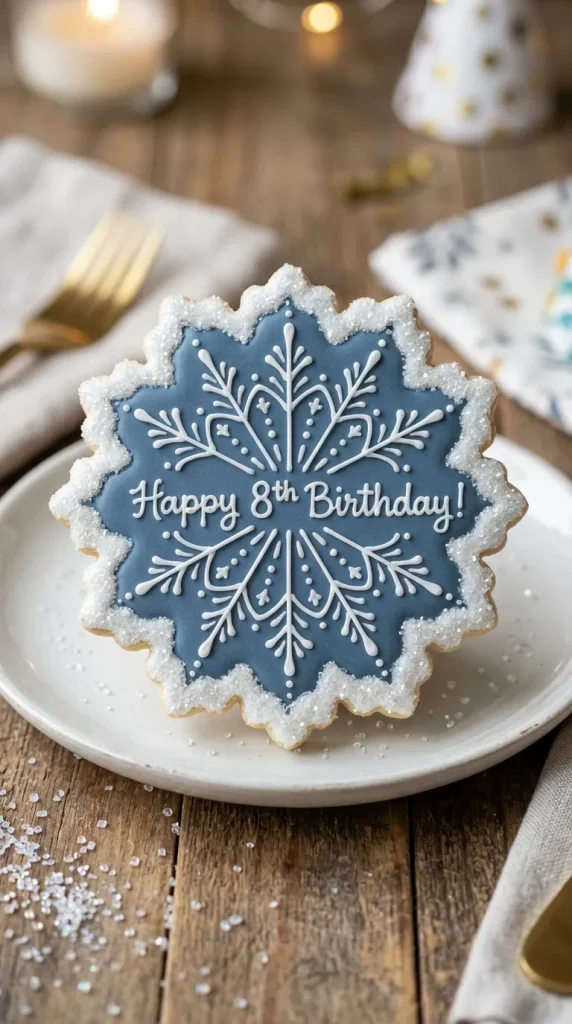
4. Iridescent Sanding Sugar Sparkle Borders
Nothing captures the illusion of fresh, glistening snow like coarse sanding sugar. Flood a hexagon or traditional six-pointed snowflake cookie in soft slate blue royal icing. Before the icing dries, sprinkle sparkling white or iridescent sanding sugar heavily over the wet icing, shaking off the excess after a few minutes. Alternatively, flood the center smooth and pipe a thick outline around the edges, coating only the outer rim in sugar for a snow-dusted frame.

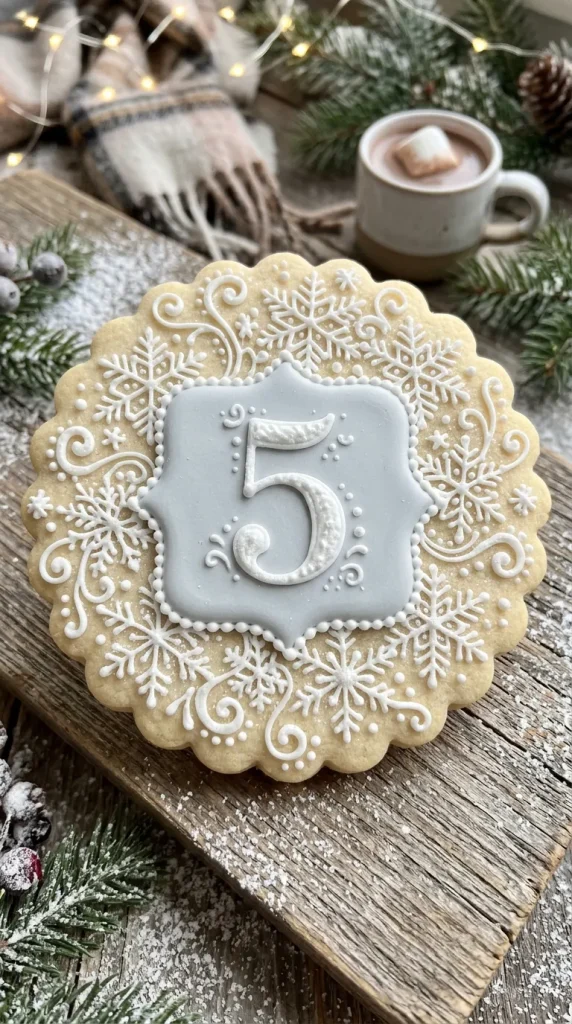
5. Personalized Birthday Name and Age Monogram Snowflakes
Tailor the design specifically to the guest of honor by incorporating personalized lettering. Cut out large, sturdy snowflake sugar cookies. Flood the center with an oversized, smooth circular or hexagon pad in pale silver-grey or soft blue. Once dry, pipe the birthday child or adult’s age in bold, crisp royal icing in the center, framing it with delicate snowflake filigree extending outward toward the cookie points.
6. Stenciled Velvet Airbrushed Snowflake Patterns
Airbrushing offers a quick way to achieve professional depth and dramatic contrast. Flood a cookie base in bright white or soft cream royal icing and let it dry completely overnight. Lay a detailed snowflake stencil flat against the cookie surface. Using an airbrush system loaded with deep navy blue, pearlized icy blue, or metallic silver edible food color, lightly spray across the stencil. The result is a sharp, crisp graphic design with soft shading that resembles velvet velvet printing.

7. Deep Midnight Navy and Gold Glamour
Shift away from traditional pastels to create a dramatic, evening-inspired winter wonderland theme. Base-flood the snowflake cookies in deep midnight navy or midnight blue royal icing. Once dry, pipe bold geometric snowflake patterns using stiff royal icing painted with brilliant edible gold paint. The striking contrast between deep blue and gleaming gold offers an opulent option suited for milestone winter birthdays like a 21st, 30th, or 50th celebration.

8. Dimensional 3D Royal Icing Transfers
Take your cookie art to the next dimension by crafting separate royal icing transfers. Trace snowflake designs onto parchment paper or acetate sheets using stiff white royal icing. Allow these delicate transfers to dry completely for 24 hours until hard. Flood your base cookie in a contrasting shade, and while the base is still wet, gently lay the pre-made 3D snowflake transfer directly onto the top. The transfer sits slightly raised, creating dramatic shadows and structural depth.

9. Isomalt Crystal Centerpiece Snowflakes
Incorporate edible glass techniques for a captivating frozen aesthetic. Use a snowflake-shaped cookie cutter with a hollow center. Bake the cookie with crushed clear isomalt or hard mint candies in the center so it melts into a clear, glass-like window in the middle of the cookie. Border the clear window with royal icing scrollwork and pipe white snowflake arms extending outward over the baked cookie portion. The translucent center catches table lighting beautifully.

10. Cozy Cable Knit and Snowflake Combo
Combine winter textures by pairing cozy sweater patterns with delicate ice crystals. Divide a large snowflake cookie into sections using stiff piping consistency icing. Flood alternating sections with smooth pastel blue icing, and use a fine tip to pipe raised cable-knit crosshatch and braid patterns on the remaining sections. Top the smooth blue sections with tiny piped snowflake stars to blend the comfort of winter knitwear with the beauty of falling snow.
