10 DIY Bedroom Decor Wall Art for Small Rooms Ideas 

Transforming a small bedroom doesn’t require a massive budget or a major renovation. When floor space is at a premium, your walls become your greatest asset. Blank walls are full of untapped potential, and blank space can easily be converted into a gallery of personal expression. The right wall art can actually trick the eye into making a compact room feel larger, brighter, and more curated.

DIY wall art allows you to customize colors, textures, and scales to perfectly fit your unique layout. By focusing on vertical elements, reflective surfaces, and lightweight textures, you can elevate your design without cluttering your physical space.

Here are 10 creative, budget-friendly DIY bedroom decor wall art ideas specifically tailored to maximize and beautify small rooms.

1. The Oversized Split-Canvas Engineering Print

Large art can actually make a small room feel bigger by creating a singular, dramatic focal point instead of many tiny, cluttered ones. However, giant frames are expensive and heavy. The solution is an engineering print. You can print a high-resolution landscape or abstract photo at a local print shop for just a few dollars. Cut the print into three equal vertical sections and mount them onto three lightweight stretched canvases using Mod Podge. Hanging this triptych above a bed draws the eye upward and creates an illusion of architectural grandeur.

2. Pressed Botanical Floating Frames

Bringing elements of nature into a small room creates a serene, airy atmosphere. Gather flat leaves—like ferns, eucalyptus, or monstera fronds—and press them inside heavy books for a week. Once dried, place them between the glass panels of inexpensive floating frames. Because floating frames have transparent backgrounds, the wall color shows through, keeping the visual weight of the artwork incredibly light. This prevents the walls from feeling closed in.
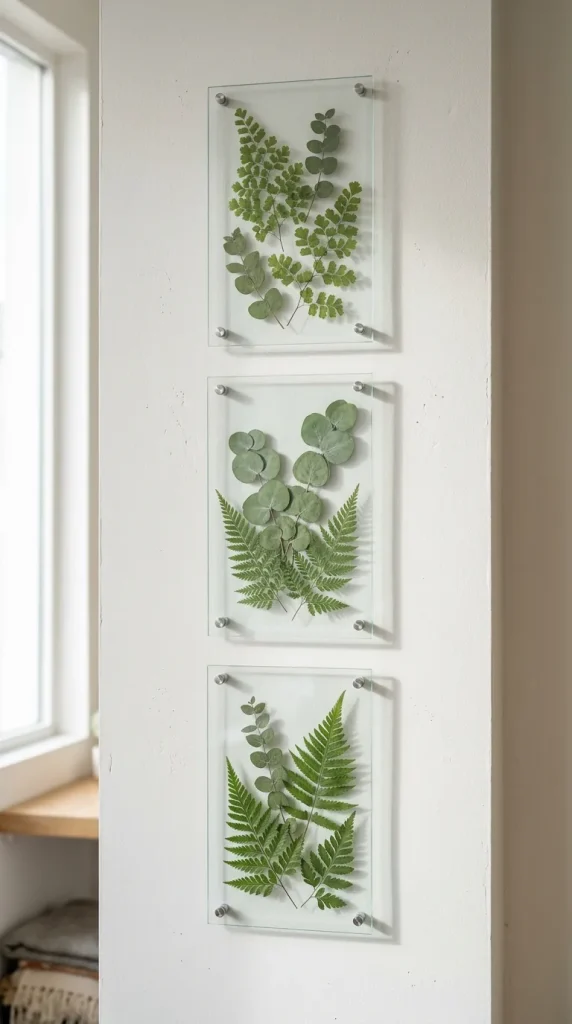
3. Bohemian Yarn and Driftwood Wall Hanging

Texture adds warmth to a small bedroom without stealing physical space. A DIY yarn hanging brings a soft, cozy, bohemian texture to your walls. Find a clean, sturdy branch or a piece of driftwood. Cut strands of yarn in various neutral shades (cream, beige, and soft terracotta) at double your desired length. Attach them to the branch using simple lark’s head knots. Trim the bottom of the yarn into a sharp V-shape or a clean straight line for a modern, textured look that softens hard wall angles.

4. Arch Painted Accent “Headboard”

If your small bedroom doesn’t have space for a bulky headboard, paint one directly onto the wall. Using a pencil, a string, and a tack as a makeshift compass, draw a large arch on the wall behind your bed. Paint the inside of the arch a rich, moody hue or a soft pastel. This acts as a piece of faux-architectural wall art that anchors your bed, defines the space, and adds incredible visual depth without taking up a single millimeter of floor real estate.

5. Minimalist 3D Textured Spackle Canvas

Monochromatic art is perfect for small rooms because it introduces visual interest without overwhelming the eyes with chaotic colors. Grab a large canvas, a tub of lightweight joint compound (spackle), and a notched putty knife. Spread the spackle across the canvas and use the knife, a comb, or even your fingers to create sweeping arcs, waves, or clean geometric lines. Once it dries completely, paint over the entire canvas with a flat white, cream, or beige paint. The result is a high-end, gallery-worthy piece that relies entirely on shadow and light.

6. Symmetrical Thrifted Mirror Gallery

Mirrors are the oldest trick in the design book for expanding small spaces because they bounce light around the room and create the illusion of an extra window. Scour thrift stores for 4 to 6 small, uniquely shaped frames. Remove the backings, spray paint the frames in a cohesive color (like matte black or soft gold), and insert mirror glass custom-cut at a local hardware store. Hang them in a tight, symmetrical grid to create a sophisticated, light-reflective focal point.

7. Floating Corner Bookcase Art

Corners are often completely wasted in small bedrooms. You can turn an empty corner into a functional, sculptural art installation using invisible floating bookshelves. Screw these small L-shaped brackets into the corner walls vertically and stack your favorite books on top of them. By arranging the books by cover color or stacking them horizontally, your literary collection becomes a dynamic, vertical art piece that frees up valuable floor space where a traditional bookcase would sit.

8. Washi Tape Geometric Mural

If you are renting or love to change your decor frequently, washi tape is your best friend. It is incredibly cheap, comes in endless colors, and peels off cleanly without damaging paint. Map out a geometric design—such as a series of interlocking triangles, a minimalist chevron pattern, or a faux line-art silhouette—directly on your wall using a level and a pencil. Trace over the lines with high-quality black or metallic gold washi tape for an instant, graphic accent wall.

9. Fabric-Wrapped Acoustic Panels

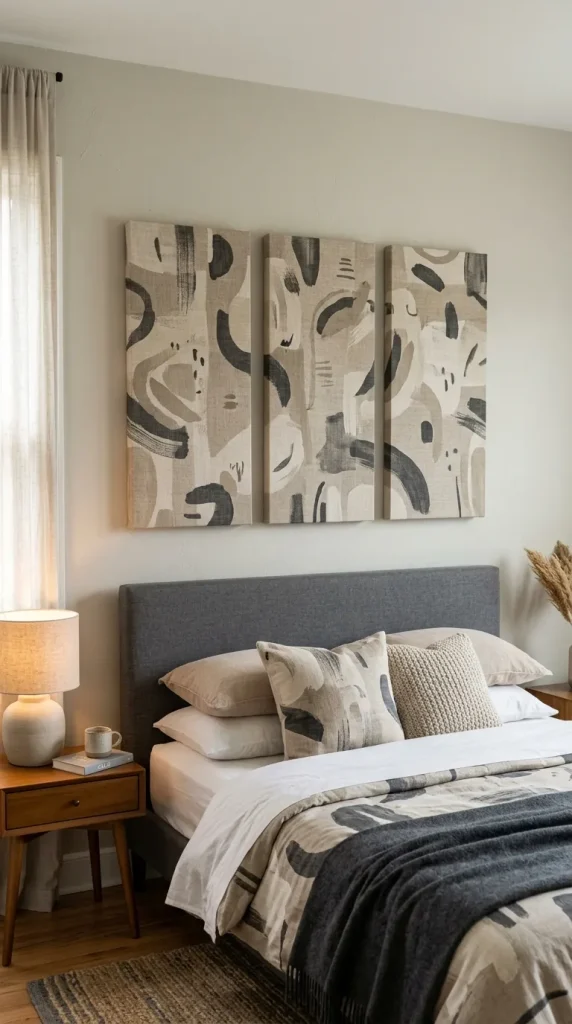
Beautiful fabric can double as high-end wall art while pulling double-duty to dampen echoes, making a small room feel quieter and more peaceful. Purchase inexpensive acoustic foam panels or cut pieces of thick insulation cardboard. Wrap them tightly in your favorite textiles—such as vintage linen, bold mudcloth, or soft velvet—and secure the fabric to the back with a staple gun. Hang a row of three or four panels tightly together above a desk or bed for a structured, cozy, and functional art installation.
10. Hanging Macrame Hat or Bag Display

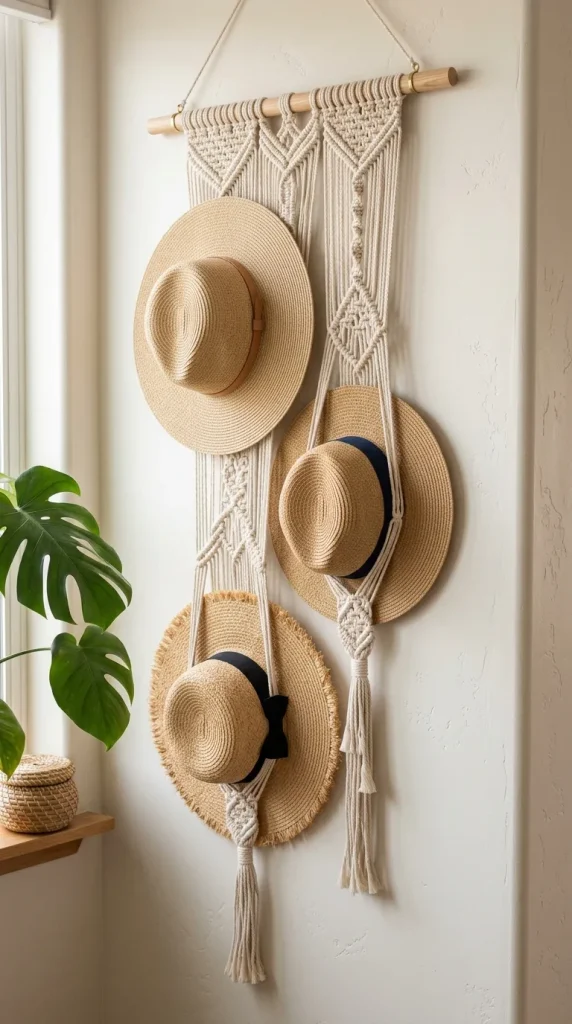
Functional storage can easily be transformed into intentional wall art. If you have a collection of wide-brimmed sun hats, woven bags, or beautiful scarves, don’t hide them away in a cramped closet. Mount a sleek wooden dowel or a copper pipe high on your wall. Use S-hooks or macrame cords to suspend your accessories at varying heights. This creates a rotating, highly personal fashion installation that keeps your favorite items organized, accessible, and beautifully displayed.
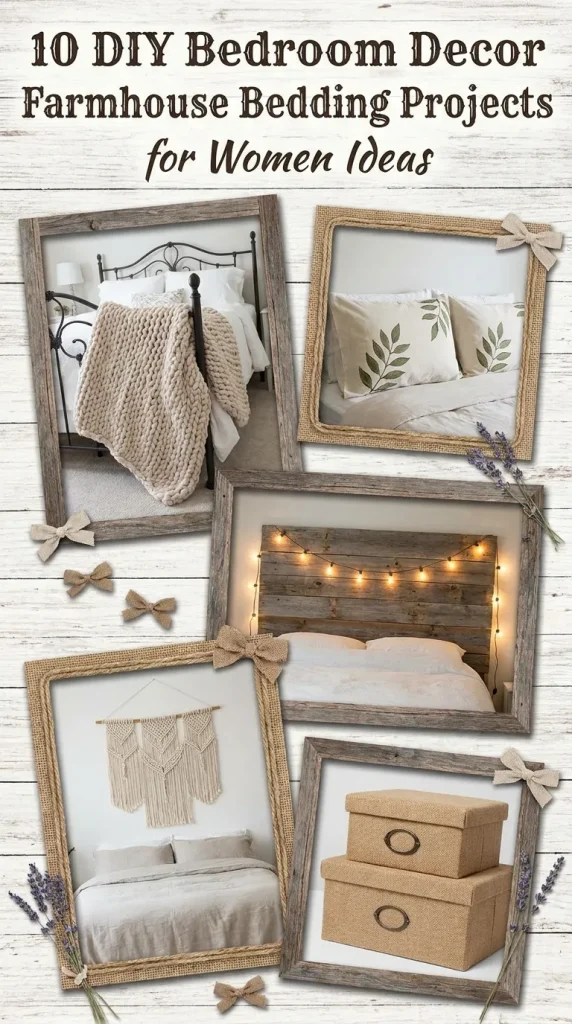
10 DIY Bedroom Decor Farmhouse Bedding Projects for Women Ideas

The farmhouse aesthetic is all about warmth, comfort, and a touch of rustic charm. It’s a style that invites you to kick off your shoes, relax, and feel instantly at home. At the heart of any farmhouse bedroom is the bed itself—a cozy sanctuary of soft textures, muted tones, and handmade details. If you are looking to transform your sleeping space into a serene, rustic retreat without breaking the bank, roll up your sleeves.

Here is a deep dive into 10 beautiful, budget-friendly DIY farmhouse bedding projects designed specifically for women who love to create, upcycle, and style their own spaces.

1. The Ruffled Drops Linen Bed Skirt

A standard store-bought bed skirt often looks stiff and sterile. You can create a soft, romantic farmhouse anchor for your bed using neutral linen or drop cloth material. Linen brings that perfect, slightly wrinkled texture that defines high-end farmhouse style. By cutting fabric strips to 1.5 times the length of your bed frame, you can create beautiful, cascading ruffles. Gather the fabric using a simple basting stitch on a sewing machine, then attach it to an old fitted sheet or directly to the box spring platform. The result is a pooling, romantic edge that beautifully hides under-bed storage.

2. Hand-Stitched Grain Sack Accent Pillows

Grain sacks are a staple of authentic farmhouse decor, but genuine vintage ones can cost a fortune. You can easily replicate the look using heavy oatmeal-colored cotton canvas or cotton duck fabric. Use fabric paint and painter’s tape to roll on the classic, crisp ticking stripes down the center—usually a thick stripe flanked by two thinner ones in navy blue, charcoal grey, or barn red. For a genuinely rustic touch, use thick embroidery floss to hand-stitch a faux monogram or family initial right above the stripes. Fill them with plush down inserts for that perfectly choppable, lived-in look.

3. The Cozy Hand-Knit Chunky Chenille Throw

Nothing says comfort like an oversized, chunky knit blanket draped effortlessly across the foot of the bed. You don’t even need knitting needles for this project; arm-knitting has made this incredibly accessible. Using ultra-soft, jumbo chenille yarn in cream, soft taupe, or sage green, you can weave a luxurious throw blanket in under two hours using just your forearms. The massive loops provide incredible visual texture, contrasting beautifully against smooth sheets and structured duvets.

4. Vintage Quilt Euro Shams

If you love hitting thrift stores or flea markets, keep an eye out for cutter quilts—vintage quilts that are beautifully broken in but have too many stains or tears to be used as a full blanket. You can rescue the pristine sections of these quilts and transform them into oversized Euro shams. The faded floral patterns, hand-stitched details, and worn cotton batting add instant history and soul to a modern bed layout. Simply cut the quilt to size, finish the edges with a simple bias tape binding, and add an envelope closure on the back using a neutral muslin fabric.

5. Bleached Drop Cloth Duvet Cover

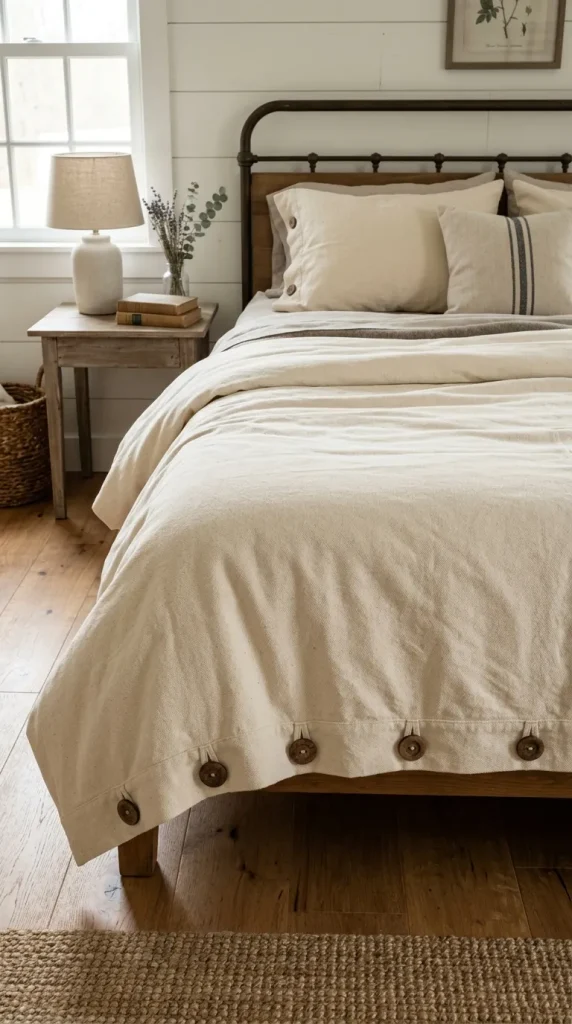
Canvas drop cloths from the hardware store are a DIY decorator’s secret weapon. They are incredibly durable, inexpensive, and made of 100% cotton or a cotton-blend that mimics expensive raw linen when treated correctly. To make a duvet cover, soak two large drop cloths in a bath of hot water and bleach to strip out the harsh gray-tan color, softening the fabric into a beautiful, warm cream color. Sew three sides together, add a series of simple wooden buttons or fabric ties along the bottom opening, and you have a heavy, textured duvet cover that looks like it belongs in a boutique catalog.

6. Delicate Lace-Trimmed Flat Sheets

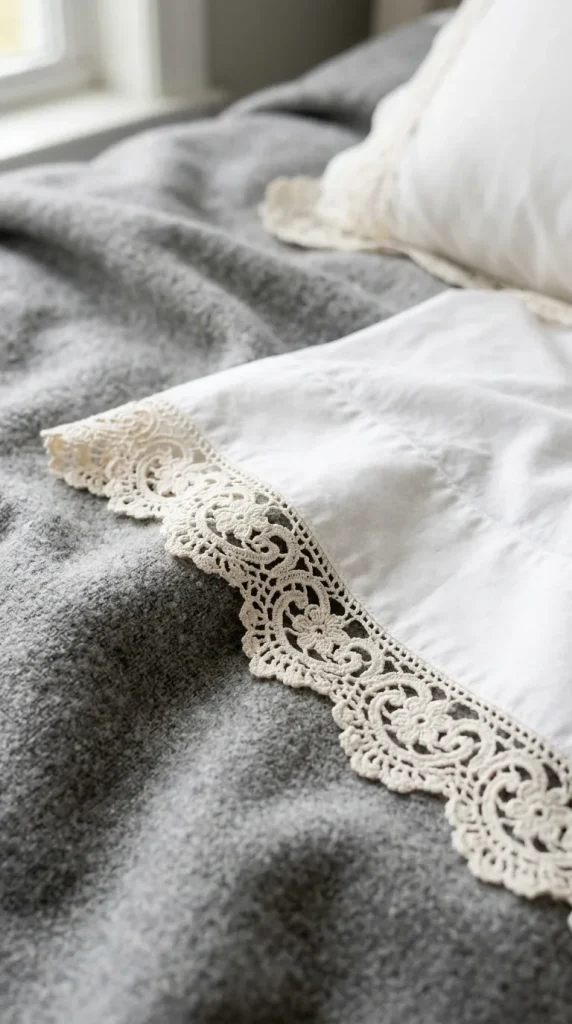
Give a plain white or soft gray sheet set an instant heirloom upgrade by adding vintage lace trim to the top cuff of the flat sheet and the edges of the pillowcases. You can find beautiful crocheted lace or eyelet trim at local craft stores or vintage shops. Carefully pin the lace along the top edge of the sheet, ensuring it faces downward when the bed is made and the sheet is folded back over the duvet. It’s a subtle, feminine detail that catches the eye and adds a layer of delicate texture to the bed.

7. The Tufted Chenille Bedspread Upcycle

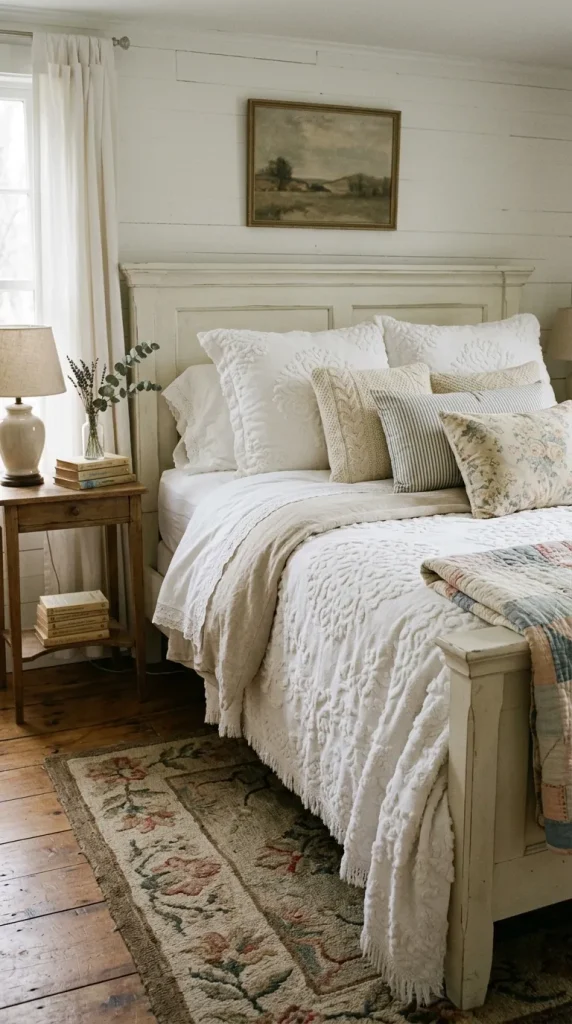
Chenille bedspreads from the 1950s and 60s are famous for their tufted, velvety lines and cozy, nostalgic feel. If you find a vintage chenille bedspread that feels a bit too dated for your entire bed, consider cutting it down into a structured coverlet or a long bed scarf. The iconic raised tufts create a wonderful geometric or floral texture that breaks up flat fabrics. Fray the edges slightly and wash it a few times to get that perfect, fluffy, timeworn fringe along the borders.

8. Stenciled Botanical Coverlet

If you prefer a clean, minimalist farmhouse look, a botanical stenciled coverlet offers a gorgeous botanical touch. Start with a plain, lightweight cotton quilt or blanket in white or ivory. Using a large, delicate stencil of olive branches, eucalyptus leaves, or ferns, lightly dab soft charcoal or muted green fabric paint across the fabric. Focus the design on just the lower third of the blanket or scatter it lightly for a whimsical, hand-printed textile look. Heat-set the paint with an iron so it remains soft and washable.

9. Tie-Back Muslin Pillowcases

Muslin is a lightweight, breathable cotton fabric with a beautiful crinkled texture that requires absolutely no ironing—the ultimate farmhouse luxury. Sew simple pillowcases from unbleached cotton muslin, but leave the open end extra-long. Instead of a traditional hem, attach wide fabric strips to the opening so you can tie the ends into beautiful, floppy bows. It keeps the pillows snugly inside while adding a relaxed, cottage-core charm to your pillow stack.

10. Reclaimed Wood Headboard and Quilt Rack

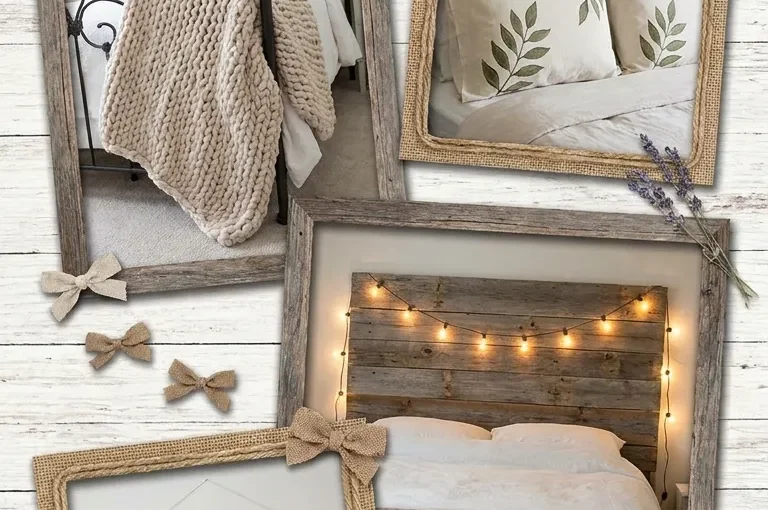
While not strictly bedding, how you frame your bed completes the look. A simple DIY headboard made from weathered, cleaned pallet wood or reclaimed barn boards acts as the ultimate backdrop for your new bedding. To complement it, build a simple wooden ladder or wall rack to hang your extra DIY throws and quilts. It keeps your projects organized while turning your extra bedding into a beautiful, layered wall display.